
If you're looking for a way to make fleece blankets without those bumpy knots and losing so much to the fringe, this is it!
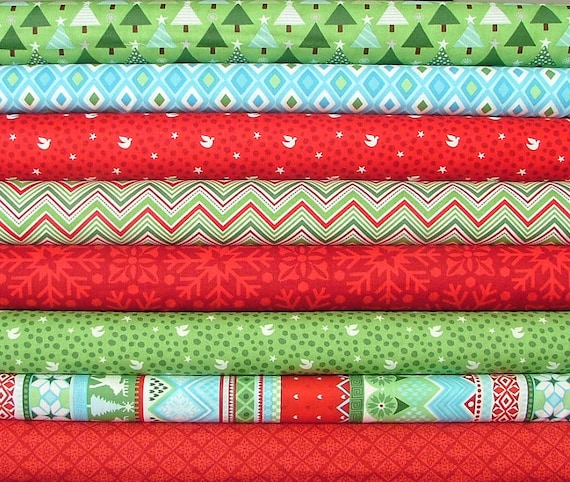
I picked up a bunch of fleece at Jo-Anns Black Friday sale ($3 a yard...plus 20% off that with the coupon). Since then we've been drowning in fleece blankets. We've been making them to go with other gifts for kids on the Giving Tree at Firecracker's school.
I have to confess that I've never really made fleece blankets before. Our kids have plenty of them, including some special ones given to them by their birth families, but I've never made them...because I'm more of a quilt person. The need to mass produce them easily and the sale with $3 a yard, drove me to fleece...and it's actually been kinda fun. I wanted to find an alternative to the knots though, because the knots can be a little uncomfortable to lay on. I've tried out three different ways, but I thought I'd show you my favorite one first. This is just a little different than any other ways I've seen...but I'm probably not the first person to think of it.
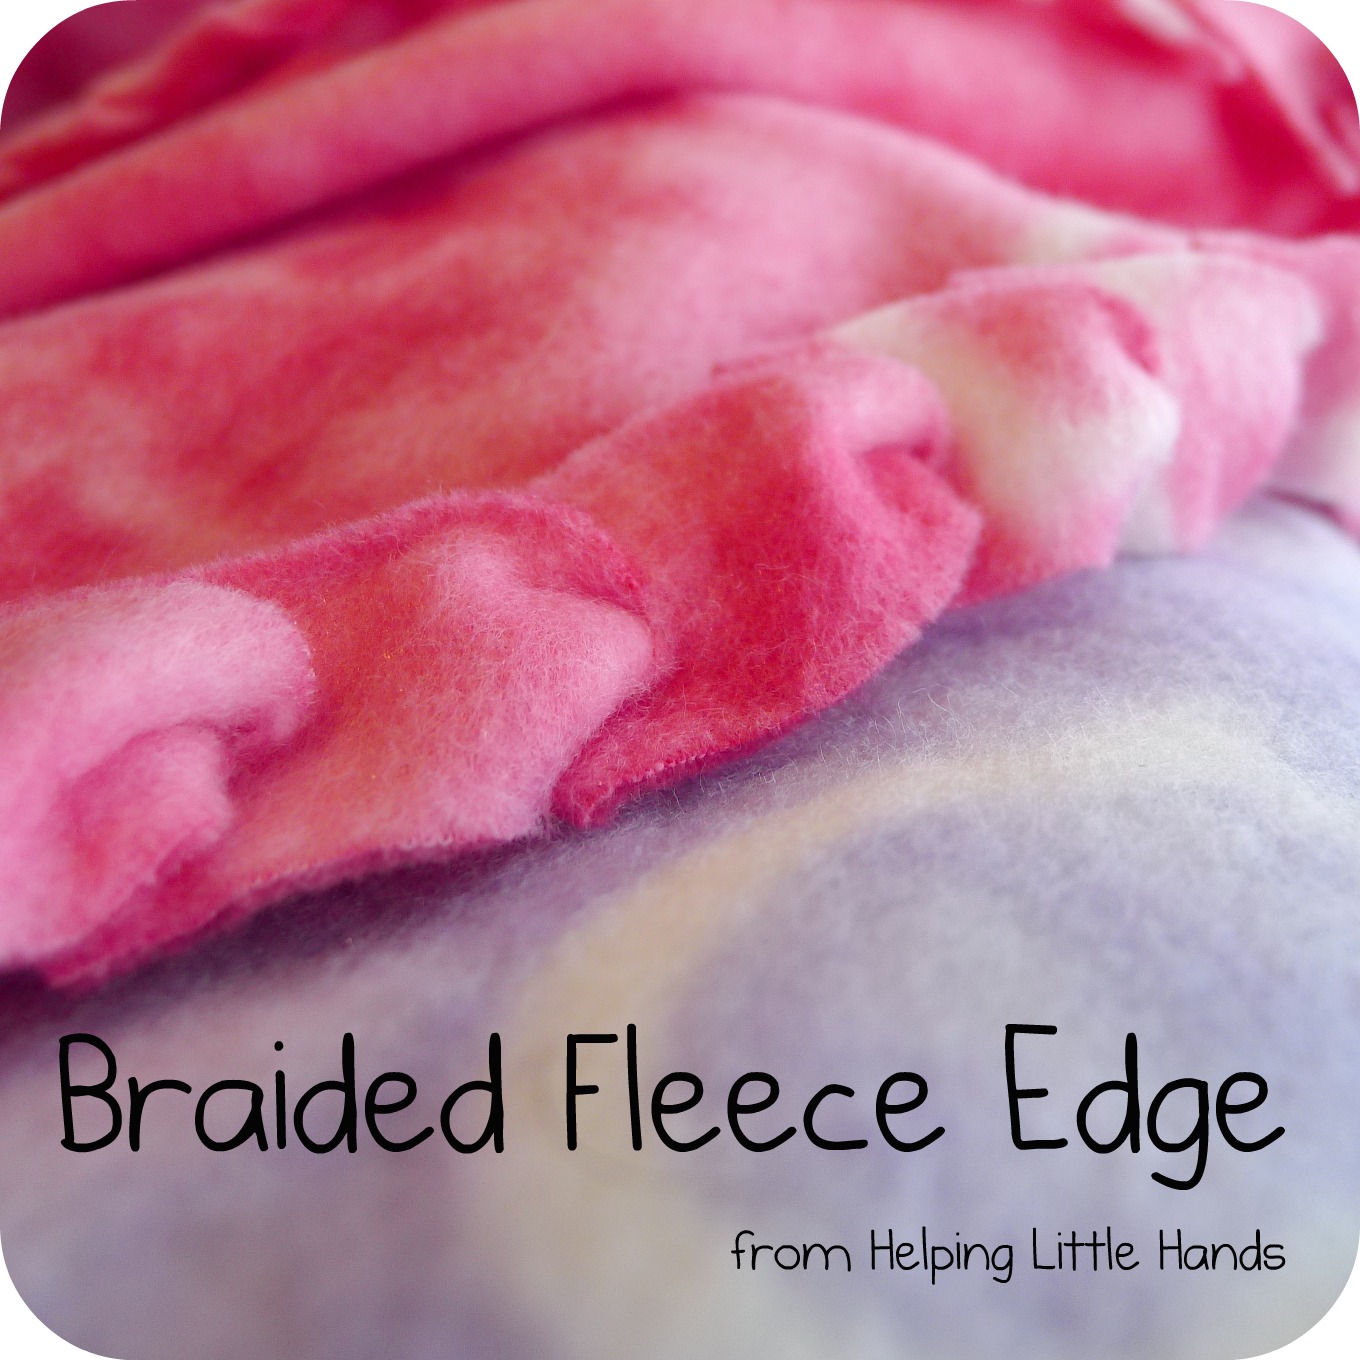
So I present...the faux braided edge. This method is for a fleece blanket from a single layer.
Updated Nov. 2011 - If you're looking for a way to make a braided edge for a double layer fleece blanket, check out my new tutorial here.

I like this one because there are no bumpy knots, and it uses shorter fringe (only 2 inches). That way more of your blanket ends up being blanket rather than fringe.
I like this one because there are no bumpy knots, and it uses shorter fringe (only 2 inches). That way more of your blanket ends up being blanket rather than fringe.

I folded the 3 yards of fleece in half "hamburger" style.

Even out the edges and cut off the salvages. You'll also cut right next to the fold to cut your fabric in half.

Then I trimmed of a 6-8 inch strip for the scarf of one of the salvaged sides. (Finish the scarves but cutting fringe 3-4 inches deep and about 1/3 of an inch wide.)

Then cut a 2 inch square off each corner.

Then I used painters' tape to mark 2 inches in from each edge.

Then I used the markings on my cutting mat and cut fringe 1 inch wide and 2 inches deep. The painters' tape does a nice job of helping you to stop at just the right place.

Then you cut a little slip at the top of each piece of fringe.

Then you'll need to unbend a paperclip, so it's just a piece of wire bent in half. (Or something else that's stiff with a loop that will fit through your slits.

Stick the paperclip through one of your loops. I started in the middle of one of the sides.

Put the fringe next to it through the loop in the paperclip and pull through.

Stick the paperclip through the slit in that piece of fringe and repeat going all around the blanket.

The corners will just take care of themselves as you go around.

When you've pulled the last piece of fringe...

...you'll need to cut it in half.

Then use those two halfs to tie a knot around the first loop you started with.

Tuck the knot underneath so it doesn't show. That's it!
And for another fun variation, you can round each piece of fringe.

This will give your blanket rounder braid look. Although to be honest, I didn't think that this one looks SO much better that I wanted to spend the time to round all of the fridge after I'd tried it out on this blanket...especially since I had so many fleece blankets to make.

This method also works for a Braided Fleece Scarf. Tutorial here...

And if you're looking for something else a little different to try with fleece, you might like these fleece fitted toddler sheets.


Please show my sponsors some love...
|
Genius! Thank you Polly - I never would have thought of this. The blankets look great.
ReplyDeleteI love it. Thanks for sharing!
ReplyDeleteI featured you on my blog!! If you have the chance, stop by. I have a 'featured' button you can grab and also a link up for other craft ideas.
ReplyDeletehttp://lebedafamily.blogspot.com/2010/12/craftify-it-thursday-kids-christmas.html
Jennifer @ Life with the Lebedas
Those look sooooo cute!!!!
ReplyDeleteThanks for this idea its great, I don't like the knots and this is much cuter
ReplyDeleteThis would be a beautiful edging for a prayer shawl!
ReplyDeleteThanks for the tutorial. I bought fleece to make these and was planning on making some this weekend. I have a question. You mention that you'll cut along the folded edge so that you're left with two pieces. Does this then make the blanket double thickness or is that for 2 blankets? It doesn't look like the fringe in the pictures is two pieces each, but maybe I just can't tell. Please let me know!
ReplyDeleteCan you do this with two peices of fleece?
ReplyDeleteRather than a paper clip, a large crochet hook was fabulously easy and fast for pulling the strips through! I wasn't overly even when cutting my strips (need better scissors or a mat and roller) so had to go back and cut a bit deeper in some places, otherwise it pulls up like a fitted sheet! Whoopsie! Must have more patience...Haha
ReplyDeleteThis looks so nice but I cant figure out the answers to the other 2 blogs....can or do you use one piece in the picture or two????
ReplyDeleteRenee...I did this with just one layer, although I think it would also work with two...you'd just have to cut the slits long enough to pull two layers through.
ReplyDeleteHi! I was wondering how you did the scarf exactly, you said you cut a piece 6-8 inches wide but then the fringe 3-4 inches deep...so you'd only have 2 inches or less of fabric in the middle? ~ Nicole
ReplyDeleteThe fleece was 6-8 inches wide and extended the whole length of the fleece...60 inches. Then I cut the fringe on the ends, so that the finished scarf was 6-8 inches wide and about 52-54 inches long.
ReplyDeleteOh! I see, so you didn't do the braiding on the scarf. I am trying to make a scarf with braided edges and having trouble with it bunching. My practice one I cut 2 in. squares out of the edges, and about 3/4 in. fringe. Maybe if I cut the fringe thinner it wouldn't? hmm.. ~Nicole
ReplyDeleteI made a braided scarf just a couple days go, but I haven't posted about it yet. It was double sided like in this tutorial (http://helpinglittlehands.blogspot.com/2011/11/double-layered-no-sew-braided-fleece.html) For that one, I cut it 8 inches wide (and 60 long). I cut the fringe along the long sides for that one and just braided the long sides. I left the ends plain. If you have any other questions, it would be better to email me, so I can reply directly back to you.
ReplyDeletethis is such a wonderful and helpful website! i am currently in the processing of starting a small side job making tie blankets. i appreciated learning about how to make braid blankets, so thank you! seeing your pictures has certainly inspired me to invest in a cutting mat and using a rotary cutter instead of scissors. thanks for sharing your methods!
ReplyDeleteI make dozens of blankets for Binky Patrol and am always looking for a variation to keep me from getting bored. Thank you so much. This is perfect because it will leave more "blanket" and less fringe! Thank you, thank you, thank you.
ReplyDeleteI made a double thickness blanket last night. It turned out great! A large safety pin worked beautifully to pull the strips through the whole.
ReplyDeleteQuestion, is there a tool out there that would work to scallop the edges uniformly?
To Anonymous...I don't know of a tool that would scallop all the edges...which is why even though I like the look of it, I've mostly just stuck to the square edges because it's so much easier.
ReplyDeleteYou can try the Creative Memories antique/scallop roller of old... (straight edge 12x12" trimmer with the different blades) I will test on a piece of Fleece to see how it works and let you know, but I am pretty sure it will work. They are super sharp!
DeleteI love this so much! I am teaching a class and using your instructions! You did such a great job! THANK YOU!!!!
ReplyDeleteErlene Marshall, NV. May 22, 2012 I am a first time Great-Grandma.
ReplyDeleteI have never made one of the fleese blankets. I wanted to make one to go with a knit&crocheted shawl I made, but I didn't want the ends of the ties in the baby's face and around the tiny fingers. This is a great looking idea. I'm going to try it with two pieces of fleese. THANKS!!
LOVE the braided finishing technique, thanks for sharing!
ReplyDeleteHave done the scalloped edge for years as I seem to have a "thing" about fringe in knitting and fleece work. I just eye ball the cuts for the scallops ( I know, bad me), usually no more than 2- 2/12 inches, then fold each length wise, then trim in a curve. Really very easy and fast. No need to cut out corners either.
ReplyDeleteThat I'd neat to do but won't it come undone after I wash it in the wash n dry it
ReplyDeleteNo, it won't come undone. Each piece is pulled through a loop, so it can't pull out.
DeleteI love making the tie knot blankets but this is also a very great idea and im going to have to try it:))) I have done like 12 tie knot blankets and everyone that gets one loves them and that makes me happy:)))
ReplyDeleteI love this way... I have made 35, now i need to try this!
ReplyDeleteAfter not sewing or quilting for a few years, I am getting back into the swing of things! Just loved the braided 2 sided fleece blankie! Your directions were awesome and the new Blankie turned out excellent..just curious about the corners - do you usually cut out a piece or ? I left it whole and just worked my way around - looks ok but could be smoother...thanks for just an excellent site!
ReplyDeleteI've done both and it works either way.
DeleteOr instead of cutting out a square at the corners you can leave ONE FRINGE CUT OUT TO THE CORNER and you end up removing 2 triangle pieces instead of the whole square. Just make sure that the one corner fringe piece is cut to the length of your side fringe pieces. This gives a nice look to your corners with out any empty spaces.
DeleteI just made one of these and it was so easy! Thank you!
ReplyDeleteI love the idea. Gonna try it for the babies Christmas blankets. Looks so much better. Thanks
ReplyDeleteI am quilting a piece of baby micro fleece to a cotton layer. I am gonna use the single braid technique on the fleece layer and tack the cotton down on the back side. Hoping it comes out nice for my unborn son.
ReplyDeleteFor the first method, instead of a paper clip, could you use a crochet hook?
ReplyDeleteYes, a large crochet hook would work as well. I just don't have one.
DeleteI have a question on the corners. If you are cutting along the side and come close to the corner, do you just keep cutting? Or start the other direction? I didn't want to mess up my piece of fleece until I know for sure. We had a class on it, but turned under the two (actually three inches) and pull the strips through each other with your fingers. But I did not get to stay to complete the class and cannot get ahold of my instructor until Monday. Thanks
ReplyDeleteI love this idea and want to try it for charity projects and our H.S. seniors at our church. Thanks!!
ReplyDeleteFrom: Sheila 11-11-12...Thanks for this clever idea. I love cute, easy, and clever.
ReplyDeleteMaybe I'm just not as bright as the rest of you--but I don't understand this at all!! And I WANT TO!! I looked at it over and over and am trying to understand but your tutorial was NOT easy to follow. After you pull it through--DO YOU THEN TIE A KNOT?? Otherwise how does it not unravel in the wash? Please be more clear, thank you
ReplyDeleteHi Marcie, Sorry you're frustrated. After you pull the fringe through, you move to the next piece and pull it through the slit of the one you just pulled through. That makes it impossible for the first one to come off. Then you move on to the third piece which makes it impossible for the second one to come off. By the time you get to the last piece, that's the ONLY one that could come undone...so you cut that piece of fringe in half and use those to tie a knot (or some readers have said they sew it) around the first piece of fringe, which locks the whole thing in place. You only tie one knot at the end. Hope that makes more sense.
DeleteIf you think of it as crocheting instead of braiding, it will be easier to visualize (because you're not really braiding). I've seen this done elsewhere using a crochet hook.
DeleteGreat idea for finishing the quilt edge. This is similar to what I used to do as a kid to finish pot holders from those loops!
ReplyDeleteThanks for the picture, I am a visual learner so the pictures are great. A girl just told me today at Hancock about it. Thanks for posting!
ReplyDeletelol I had to practice this with a piece of paper to see it in my own head! It works! Even with paper..kind of lol
ReplyDeleteThank you so much for this awesome tutorial. I am making blankets to donate to babies and children undergoing open heart surgery in my community in celebration of my daughter's impending 2 year post-op anniversary. I got a lot of fleece at Joann's and have been looking for a way to maximize the purchase and this is exactly what I was looking for! Awesome!!
ReplyDeleteGet idea. Thanks for sharing
ReplyDeleteThank you for such a wonderful tutorial on the single layer fleece blanket. I understood everything except what to do when you get to your cut out corner and you don't have 1" in width left for the fringe or more than an inch left when approaching the cut out corner? I must be stupid since I couldn't find anyone else with this question. Do you make that last fringe piece less narrow or wider depending on how much you have left? For example I had about 1/2" x 2" fringe at the end where the cut out corner is located. How is this going to work when I "braid" it?
ReplyDeleteThank you for any help that you can offer it is very much appreciated.
Shelley, you can just make one narrower...or if you think it's too narrow to hold together, then you can just snip that one off. These blankets are very forgiving.
DeleteThanks Polly for your reply. I just ended up dividing a piece into 3/4" wide fringe instead of 1" since I didn't have enough. Hopefully it will look OK since it is on the corners.
DeleteBTW, I didn't measure my fleece. I got 2 yds of red/orange non pill fleece to make a throw blanket for our condo. This has been the most difficult color to find in ready-made department stores so I was delighted to find this tutorial to make my own. I will certainly pass it on to my sister. She has made the tied knot types in the past but I think this is way better. Many thanks again!
So glad it's working out for you. I'm sure it will look fine. Once the whole thing is finished, I can pretty much guarantee that you won't be able to tell they're slightly different in size.
Deletefound this tutorial on pinterest. Made my day because I needed a cute way to finish the single layer of fleece I wanted to give to my new nephew but I didn't want to use knots. THANK YOU.
ReplyDeleteI shortened and hemmed the sleeves of my old Snuggie with this method.
ReplyDeleteSweet and cuddly! Love it!
ReplyDeleteIs the reason you begin looping in the middle of one side so that the last corner is not left with the knot to secure the last fringe strip to the first fringe strip, keeping the corners rounded?
ReplyDelete