There are a lot of Christmas decorations and traditions (wreaths, holly, bells, etc) that have religious roots and we wanted something that would help teach our children about those. That way when they see those symbols out and about in stores and such they can be reminded of the religious significance of the holiday.

This is something I put together last year. I made one for our own family and also made several to give away as gifts...I think I ended up making 6 total. Since I was making these on a tight budget and was making so many, I tried to find as many things on sale or in packs of several at a time. They ended up costing about $9 per tin, although you could easily go up or down depending on the number and quality of item you get. I got most of the things at Michael's or Jo-Anns and made sure that it was either already on sale or that I used a coupon.
If you're like us and have a ton of Christmas ornaments, you may already have a lot of the things you'll need on hand. Some of the things in the picture are ornaments we already had, and the ones we gave away had slightly different options. I went to both Jo-Anns and Michaels and bought pretty much everything that I thought would be a good option. I was looking for inexpensive items small enough to fit in the tins, but that were still large enough to be of interest to children and not so cheap that they looked tacky. In some cases I wasn't able to find something I liked for a reasonable price, so I made my own. Once I'd brought all the items home (I had some duplicates since Jo-Anns and Michaels had different options for the candy canes for instance.) I looked through them and made a decision looking at the quality and price for which ones to keep. The others I returned to the store.
So here's a quick run down of what I did for each. The red glass ornament came in a pack with about 20 others. The Christmas lights are a wood cut out that came already painted. If you have a string of Christmas lights that don't work or something, you could just cut part of the string a few inches long and use that.

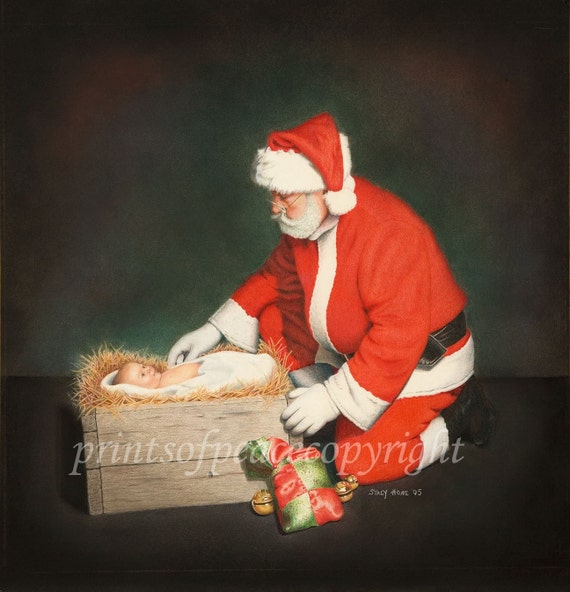
This Santa/St. Nick was a gift to us several years ago. For the tins I used for others, I put in a Santa ornament (a cool rusted metal looking one). The picture of Christ emerging from the tomb is an LDS pass-along card. If you're LDS you'll know where to get them. If you're not LDS and can find some LDS missionaries, they'll give them to you for free. The holly I made using a template I found on the internet. It's two layers of felt sewed together around the edge and sewn down the middle with a few buttons for holly. (I tried finding a fake holly garland to cut up, but the ones I found would have looked tacky if I'd just cut off a couple leaves.) There were cheaper options for the cookie cutter, but I really liked how this looked and it still wasn't too expensive since it was 50% off. You could just use one from your stash.

The gift box came already wrapped that way in a package of about 6. The candle is an ornament we already had, but I just bought small candles in a 10 pack and included those in the gift tins. The lamb was the most expensive bought item for these...I think $2. For the gift tins, I put in a little wood cut out one that was already painted for the lamb. The baritone/tuba is an ornament we also already had. For the gift tins, I used a wood cut treble clef that was already painted.

The manger I made with a glue gun and mini-popscicle sticks. The Christmas card is one left over from the previous year.

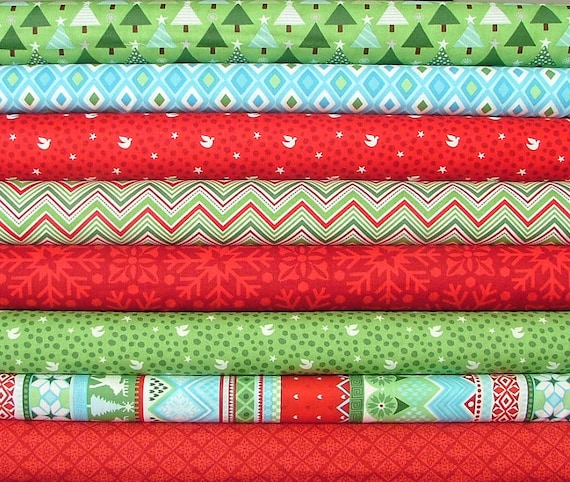
I was surprised how hard it was to find a good evergreen wreath. They were all either $3+ each or looked tacky. I made my own with 2-12'' straight pieces of the cheap, fake evergreen stuff, doubled them up to make it look thicker, and wrapped it with ribbon and tied the bow.

The candy cane came in an 8 pack. The bell came in a back of about 15. The star was from the bead/jewelry section and came in a set of 3. The Christmas tree was just plain wood and I painted it with acrylic craft paint and then sprayed it with a shinier coating.

And once you're done, put them in a Christmas tin...sorry this was the best I could find at the cheaper price. All the others were covered in snowmen.

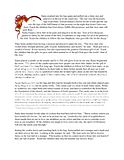
There's a story that goes with this that's been around for years usually titled something like "Teach the Children." I have no idea who originally wrote it. We found one similar to
this one and filled it out a bit to include more symbols. I've included them below as picture files. If you click on them, you should be able to see them large enough to read and print. If you would like me to send you a Microsoft Word file or PDF just leave a comment or send me an email. If I can figure out how to post a Word file or PDF file on here, I will. (If anyone reading this knows what to do for that, let me know.) If anyone else decides to do this, I'd love to see what you come up with.
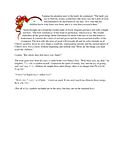
Here is the list of Christmas Symbols and their meanings (click to see it full sized):

And the three pages with the story (click on each to see them full sized):

Also if anyone has any fun Christmas projects or traditions to share, join the linky party. Just take a button from the sidebar and put it in your post so others can get involved too! (And this is still the same McLinky from before...don't by shy. My poor links are looking kind of lonely don't you think?
 Please show my sponsors some love...


 I brushed the on the tree, leaving the star and trunk plain. I can't decide whichI like better...plain or colored...what do you think?
 We're LDS (Church of Jeus Christ of Latter-day Saints), so I tried to make these so they would work for both Bible and Book of Mormon stories. I relied heavily on inspiration from
  For the faces, I just used sharpie markers because I figured googley eyes would last about 3 seconds with Firecracker arould. (Although you can see a few of the puppets still need their faces.) I pinned things down before sewing, and didn't use any adhesive.
 These I made to be Lamanites, but they look a maybe a little too much like Indians...so I think I'll do a separate post about them since we've got Thanksgiving upon us. (Too bad there was no time for making some cute pilgrims to go along with it them.)
 When I made the king, I made his crown afterward, so it's sewed on him straight across his head.
 For one of our recent Family Home Evenings, Hubby wanted to do the story of Alma the Younger and the sons of Mosiah. We couldn't figure a way for him to manage that many puppets, so we came up with the finger puppets. (One grown up finger or two little fingers can fit.) These could also work for stories with children.
 I'm sure I'll be making some more after the BIG MOVE. I'd like to do some scripture women, a puppet that looks like each family member and a few others. If anyone tries to make these, I'd love to see them!
 She might not win any fasion contests this way, but Firecracker thought it was pretty cool to wear Sweet Pea's clothes.


 The shirt with the roses is just as short as the pink one, so it wouldn't work to just pair that with the skirt.
  The rose shirt has a little narrower, so I turned the pink shirt inside out and drew some sewing lines to bring the sides in just a bit, so the openings for the two shirts would match. I also pinned them, so they wouldn't shift as I sewed them.
  Then I sewed them and trimmed off the extra.
  For this one, it ended up with about 3 inches showing. I measured up about 4 inches and marked with a pen. You'll want to measure in several places in case the shirt isn't laying quite even on your workspace.
  This was because I wanted to sew along the previous hemline on the pink shirt and wanted some extra for a seam allowance. Here comes the really scary part...the point of not return...I cut it.
  Then I pinned the white strip to the pink shirt, using the measuring tape to make sure it got pinned on evenly all the way across.
  Then I carefully sewed it in place along the original stitching line on the pink shirt...and it's done. Start to finish I think it took about 45 minutes. If I were to do it again, it would be a lot faster.
 Yeah! Firecracker is pleased with it I think. It's kind of bitter-sweet for her. She likes the improvement in her pink shirt, but wasn't happy to sacrifice another shirt for it. Firecracker is attached to every article of clothing she owns (well, at least she says "I that one! It's my favorite!" if anything is going to be passed on to a cousin or land in the trash can).